[Java] 63. Swing: 리스너를 구현하는 두 가지 방법
1. 버튼을 클릭하면 backgroundColor의 색이 노란색으로 변하게 해라.
(1) 상속 - JFrame
JFrame은 윈도우 창을 제공하는 최상위 컨테이너이다.
(2) 멤버변수
JPanel, JButton형 변수를 각각 1, 2개씩 사진다.
(3) 사용자 정의 생성자
객체를 생성하는 동시에, initData(), setInitLayout(), addEventListener() 메서드를 실행한다.
(4) initData() 메서드
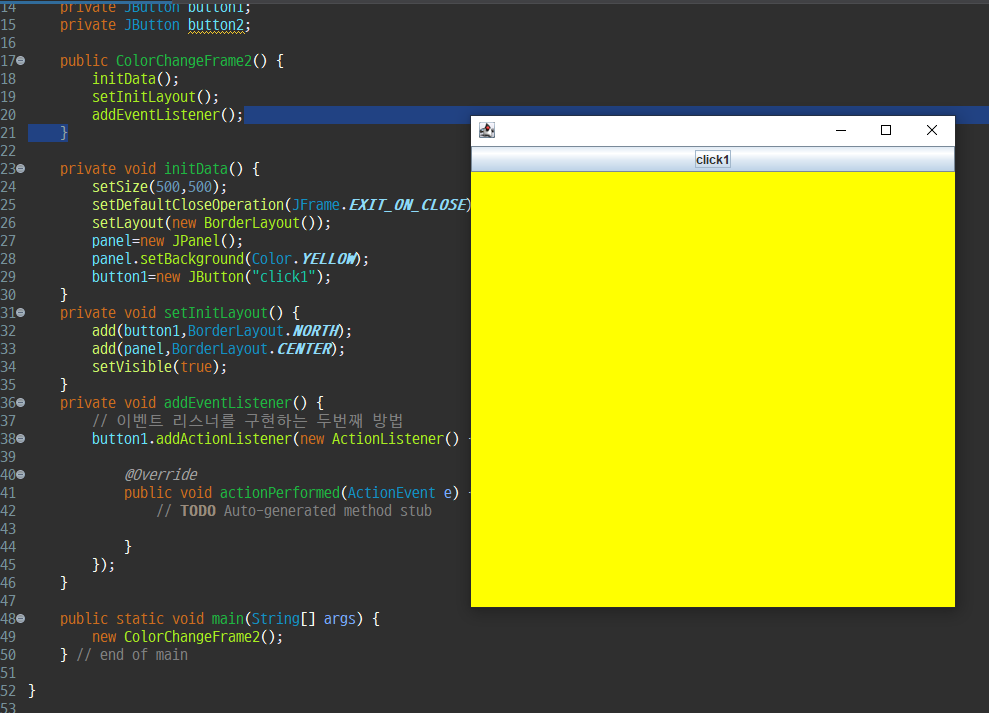
setSize(500,500): 창의 사이즈 설정
setDefaultCloseOperation: x 버튼을 눌렀을 때의 프로그램 처리 방식 결정
setLayout: 배치 관리자 설정(BorderLayout)
panel=new JPanel(); | button1=new JButton();: 새로운 변수 선언
panel.setBackground(Color.YELLOW): panel의 배경 색을 노란 색으로 변경한다.
(5) setInitLayout() 메서드
add(button1,BorderLayout.NORTH): 북쪽에 button1 배치
add(panel, BorderLayout.CENTER): 중앙에 panel 배치
setVisible(true): 창이 보이게끔 설정.
(6) addEventListener() 메서드: 이벤트 리스너를 구현하는 메서드
button1.addActionListener(new ActionListener()): button1의 동작을 감지하는 이벤트 리스너를 만든다.
*actionPerformed() 메서드: 오버라이드 처리.
package ch05;

import java.awt.BorderLayout;
import java.awt.Color;
import java.awt.FlowLayout;
import java.awt.event.ActionEvent;
import java.awt.event.ActionListener;
import javax.swing.JButton;
import javax.swing.JFrame;
import javax.swing.JPanel;

public class ColorChangeFrame2 extends JFrame {
	private JPanel panel;
	private JButton button1;
	private JButton button2;

	public ColorChangeFrame2() {
		initData();
		setInitLayout();
		addEventListener();
	}

	private void initData() {
		setSize(500,500);
		setDefaultCloseOperation(JFrame.EXIT_ON_CLOSE);
		setLayout(new BorderLayout());
		panel=new JPanel();
		panel.setBackground(Color.YELLOW);
		button1=new JButton("click1");
	}
	private void setInitLayout() {
		add(button1,BorderLayout.NORTH);
		add(panel,BorderLayout.CENTER);
		setVisible(true);
	}
	private void addEventListener() {
		// 이벤트 리스너를 구현하는 두번째 방법
		button1.addActionListener(new ActionListener() {

			@Override
			public void actionPerformed(ActionEvent e) {
				// TODO Auto-generated method stub

			}
		});
	}

	public static void main(String[] args) {
		new ColorChangeFrame2();
	} // end of main

}
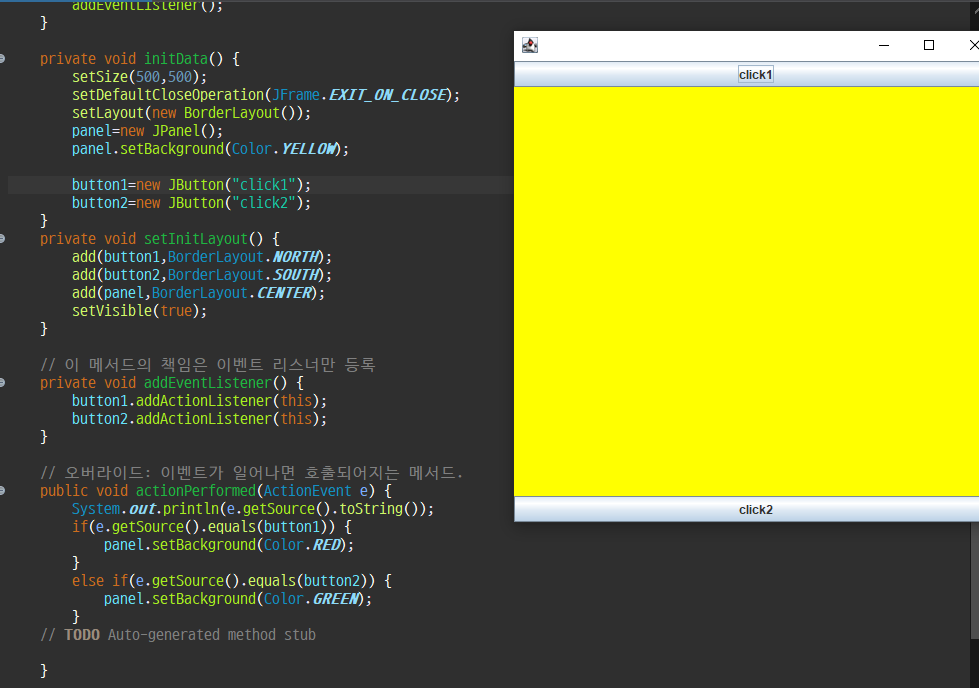
2. 누른 버튼에 따라 다른 색 출력하기
: 상하에 각가 button1, button2가 있다.
누른 버튼에 따라 backgroundColor의 색을 변경시키는 메서드를 만들어라.
*JButton 객체를 2개 생성한다.
->그리고 각각의 객체에 반응하는 actionListener를 만들고,
-->actionListener에게서 신호를 받으면 색이 변하도록 if문을 활용해 작성한다.
** If문: e.getSource의 값이 버튼1의 주소값과 같은가, 버튼2의 주소값과 같은가?
package ch05;
import java.awt.BorderLayout;
import java.awt.Color;
import java.awt.FlowLayout;
import java.awt.event.ActionEvent;
import java.awt.event.ActionListener;
import javax.swing.JButton;
import javax.swing.JFrame;
import javax.swing.JPanel;
public class ColorChangeFrame2 extends JFrame implements ActionListener {
private JPanel panel;
private JButton button1;
private JButton button2;
public ColorChangeFrame2() {
initData();
setInitLayout();
addEventListener();
}
private void initData() {
setSize(500, 500);
setDefaultCloseOperation(JFrame.EXIT_ON_CLOSE);
setLayout(new BorderLayout());
panel = new JPanel();
panel.setBackground(Color.YELLOW);
button1 = new JButton("click1");
button2 = new JButton("click2");
}
private void setInitLayout() {
add(button1, BorderLayout.NORTH);
add(button2, BorderLayout.SOUTH);
add(panel, BorderLayout.CENTER);
setVisible(true);
}
// 이 메서드의 책임은 이벤트 리스너만 등록
private void addEventListener() {
button1.addActionListener(this);
button2.addActionListener(this);
}
// 오버라이드: 이벤트가 일어나면 호출되어지는 메서드.
public void actionPerformed(ActionEvent e) {
System.out.println(e.getSource().toString());
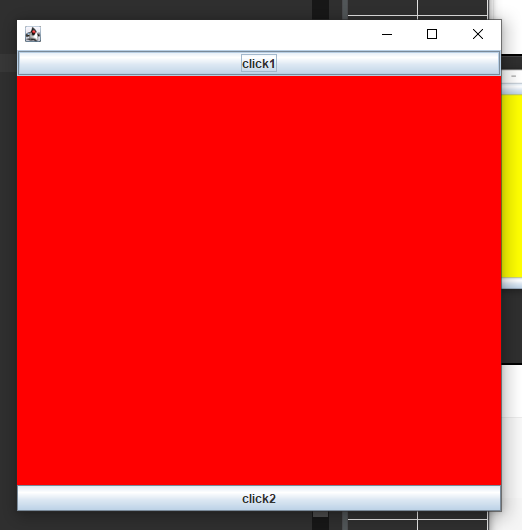
if (e.getSource().equals(button1)) {
panel.setBackground(Color.RED);
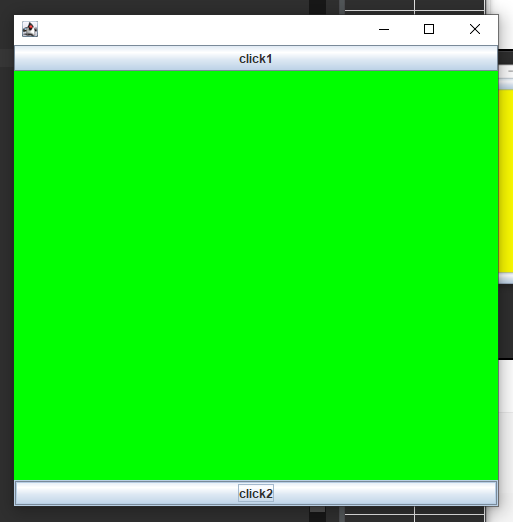
} else if (e.getSource().equals(button2)) {
panel.setBackground(Color.GREEN);
}
// Object object = e.getSource();
// JButton selectedButton=(JButton)e.getSource();
// 이하 주소값을 비교한 if문으로 각기 다른 컬러 출력.
}
public static void main(String[] args) {
new ColorChangeFrame2();
} // end of main
}
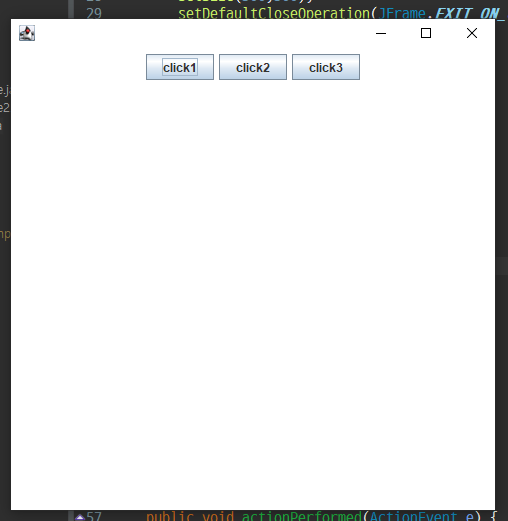
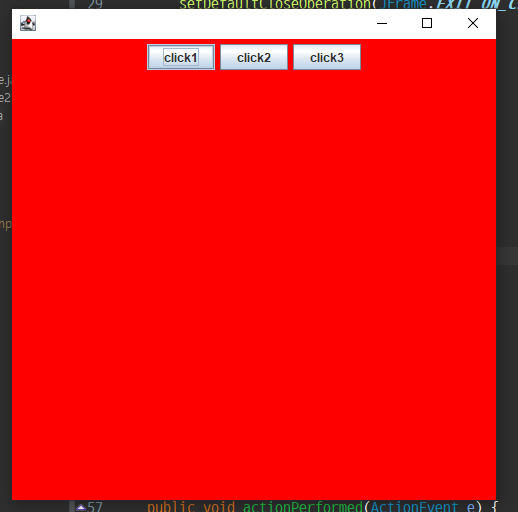
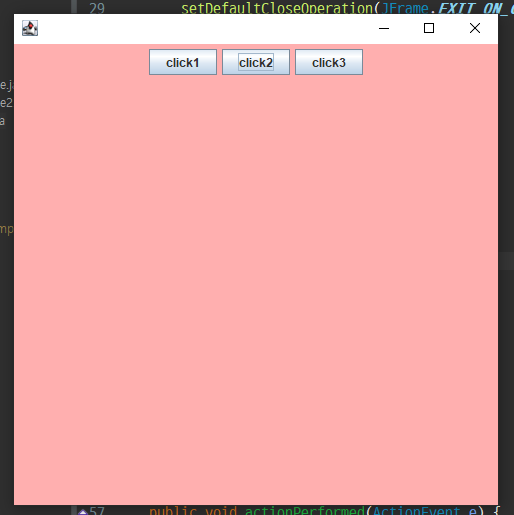
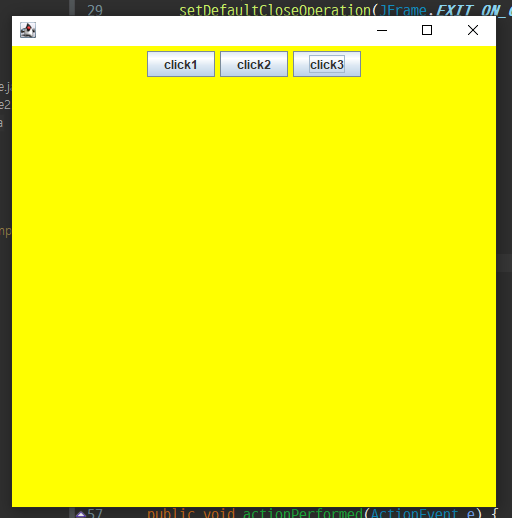
3. 버튼을 여러개 만들고, 누른 버튼에 따라 색 변경하도록 만들기
-순서대로 흰색(누르기 전), 빨간색(버튼1), 분홍색(버튼2), 노란색(버튼3)이다.
*2번 예제와 동일한 매커니즘이다. 갯수가 다를 뿐이다.
package ch05;

import java.awt.BorderLayout;
import java.awt.Color;
import java.awt.FlowLayout;
import java.awt.event.ActionEvent;
import java.awt.event.ActionListener;

import javax.swing.JButton;
import javax.swing.JFrame;
import javax.swing.JPanel;

public class VarietyButtons extends JFrame implements ActionListener {
	private JPanel panel1;
	private JPanel panel2;
	private JButton button1;
	private JButton button2;
	private JButton button3;
	private JButton button4;
	private JButton button5;

	public VarietyButtons() {
		initData();
		setInitLayout();
		addEventListener();
		setVisible(true);
	}

	private void initData() {
		setSize(500, 500);
		setDefaultCloseOperation(JFrame.EXIT_ON_CLOSE);
		//setLayout(new FlowLayout(FlowLayout.LEFT, 30, 40));
		panel1 = new JPanel();
		//panel1.setBackground(Color.white);
		panel1.setSize(500, 500);
		panel2 = new JPanel();
		//panel2.setBackground(Color.white);
		panel2.setSize(500, 500);

		button1 = new JButton("click1");
		button2 = new JButton("click2");
		button3 = new JButton("click3");
	}

	private void setInitLayout() {
		add(panel1, BorderLayout.CENTER);
		add(panel2, BorderLayout.SOUTH);
		panel2.setLayout(new FlowLayout(FlowLayout.CENTER));
		panel2.add(button1);
		panel2.add(button2);
		panel2.add(button3);
	}

	private void addEventListener() {
		button1.addActionListener(this);
		button2.addActionListener(this);
		button3.addActionListener(this);

		panel2.setBackground(Color.WHITE);
	}

	@Override
	public void actionPerformed(ActionEvent e) {
		System.out.println(e.getSource().toString());
		Object object = e.getSource();
		if (object == button1) {
			panel1.setBackground(Color.RED);
		} else if (object == button2) {
			panel1.setBackground(Color.PINK);
		} else if (object == button3) {
			panel1.setBackground(Color.yellow);
		}
		// TODO Auto-generated method stub

	}

	public static void main(String[] args) {
		new VarietyButtons();
	} // end of main

}'Java > 자바 Swing' 카테고리의 다른 글
| [Java] 65. Swing: 키보드 리스너 응용하기 (0) | 2024.04.30 |
|---|---|
| [Java] 64. Swing: 키보드 리스너 (0) | 2024.04.30 |
| [Java] 62. Swing: 이벤트 리스너 (0) | 2024.04.29 |
| [Java] 61. Swing: 이미지 겹치기 (0) | 2024.04.29 |
| [Java] 60. Swing: 이미지 출력하기 (0) | 2024.04.29 |


