- [Java] 124. JDBC에서의 예외 처리2024년 06월 17일
- Song hyun
- 작성자
- 2024.06.17.:47
728x90반응형[Java] 124. JDBC에서의 예외 처리
1. SQLException 다루기
-- DML DCL DDL
-- 컬럼 추가하는 쿼리를 만들어보자.

drop table users;
create table users(
	id int auto_increment primary key,
    username varchar(100) not null unique,
    password varchar(100) not null
);

desc users;

alter table users add column email varchar(100) null;

-- 이메일에다가 unique 제약을 추가해보자.
alter table users add constraint unique_email unique(email);
insert into users(username,password,email) values('홍길동','asd123','a@naver.com'), ('이순신','asd123','b@naver.com'), ('박태환','asd123','c@naver.com')
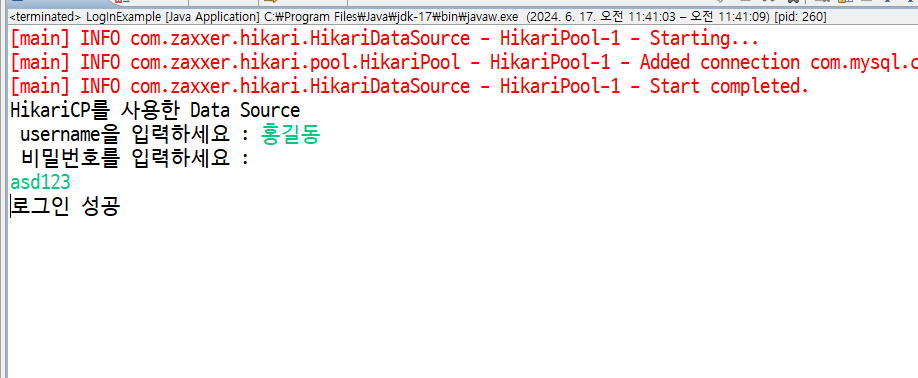
package ver4;

import java.sql.Connection;
import java.sql.PreparedStatement;
import java.sql.ResultSet;
import java.sql.SQLException;
import java.util.Scanner;
import java.util.logging.Level;
import java.util.logging.Logger;

public class LogInExample {

	// 개발 테스트를 위한 로깅 처리 및 로그
	private static final Logger LOGGER = Logger.getLogger(LogInExample.class.getName());

	public static void main(String[] args) {
		// DataSource를 활용한 Connection 객체를 사용하자.

		try {
			// HikariCP 가 담김
			Connection conn = DBConnectionManager.getConnection();
			// username, id, password를 받아서 확인해야 한다.

			Scanner scanner=new Scanner(System.in);
			System.out.print(" username을 입력하세요 : ");
			String username=scanner.nextLine();
			System.out.println(" 비밀번호를 입력하세요 : ");
			String password=scanner.nextLine();

			if(authenticateUser(conn,username,password)) {
				System.out.println("로그인 성공");
			} else {
				System.out.println("로그인 실패");
			}

			// select*from users where username='' and password='';

		} catch (SQLException e) {
			LOGGER.log(Level.INFO,"MySQL 연결 오류");
			e.printStackTrace();
		}

	} // end of main

	private static boolean authenticateUser(Connection conn, String username, String password) {
		String query="select*from users where username=? and password=? ";
		boolean result=false;

		try {
			PreparedStatement pstmt = conn.prepareStatement(query);
			pstmt.setString(1, username);
			pstmt.setString(2, password);
			ResultSet rs = pstmt.executeQuery();

			result=rs.next();

		} catch (Exception e) {
			e.printStackTrace();
		}

		return result;
	}

} // end of class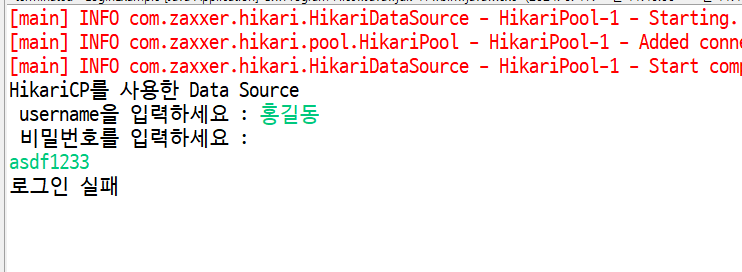

package ver4; import java.sql.Connection; import java.sql.PreparedStatement; import java.sql.ResultSet; import java.sql.SQLException; import java.util.Scanner; import java.util.logging.Level; import java.util.logging.Logger; public class LogInExample { // 개발 테스트를 위한 로깅 처리 및 로그 private static final Logger LOGGER = Logger.getLogger(LogInExample.class.getName()); public static void main(String[] args) { // DataSource를 활용한 Connection 객체를 사용하자. try { // HikariCP 가 담김 Connection conn = DBConnectionManager.getConnection(); // username, id, password를 받아서 확인해야 한다. Scanner scanner=new Scanner(System.in); System.out.print(" username을 입력하세요 : "); String username=scanner.nextLine(); System.out.println(" 비밀번호를 입력하세요 : "); String password=scanner.nextLine(); if(authenticateUser(conn,username,password)) { System.out.println("로그인 성공"); } else { System.out.println("로그인 실패"); } // select*from users where username='' and password=''; } catch (SQLException e) { LOGGER.log(Level.INFO,"MySQL 연결 오류"); e.printStackTrace(); } } // end of main private static boolean authenticateUser(Connection conn, String username, String password) { String query="select*from users where username=? and password=? "; boolean result=false; try { PreparedStatement pstmt = conn.prepareStatement(query); pstmt.setString(1, username); pstmt.setString(2, password); ResultSet rs = pstmt.executeQuery(); result=rs.next(); } catch (Exception e) { e.printStackTrace(); } return result; } } // end of class728x90반응형'Java' 카테고리의 다른 글
[입문 문제] 5. 나눗셈 - 나머지 구하기 (0) 2024.06.17 [Java] 125. JDBC 실습 : 학생 정보 관리 시스템 만들기 (0) 2024.06.17 [Java] 123. HikariCP 라이브러리를 프로젝트에 추가하기 (0) 2024.06.17 [Java] 122. JDBC 성능 최적화 (0) 2024.06.17 [입문 문제] 4. 숫자 비교하기 (0) 2024.06.16 다음글이전글이전 글이 없습니다.댓글
스킨 업데이트 안내
현재 이용하고 계신 스킨의 버전보다 더 높은 최신 버전이 감지 되었습니다. 최신버전 스킨 파일을 다운로드 받을 수 있는 페이지로 이동하시겠습니까?
("아니오" 를 선택할 시 30일 동안 최신 버전이 감지되어도 모달 창이 표시되지 않습니다.)